How to clean your bathroom FAST and Thorough in 10 easy steps

I will describe my 9 step process in detail in this lens. This process takes me approximately one half hour. Some people can clean a bathroom faster than me - but their bathroom won't be as clean and fresh as mine.
This process takes me about 30 minutes. So here we go!
Gather up your cleaning supplies

Let's start with cleaners.
I like Windex, Scrub Free Lemon Scent Bathroom Cleaner, Clorox toilet bowl cleaner with bleach,
and Orange Glow Wood furniture 2-in-1 clean & polish.
Some people advocate home-made cleaners. They have good reasons, among them cost savings and chemical avoidance.
I've personally never had the time to make them.
Choose your cleaning cloths: Paper towels or rags

My favorite rags are old tube socks. A friend passes them on to me after he gets that itty bitty whole from his big toe.
I grab a big big pile of them. I use each one until they are a bit dirty and then grab a clean one and continue. When the bathroom is clean I'll pop them all in the washing machine.
Step 1
Grab the dirty towels, wash cloths and that trash
Let's get them out of the way.
Dirty towels, wash clothes into the wash machine. Check those rugs too. If it's been awhile, ( or you can't remember when ), grab them up. You'll wash them all alone in a cold water wash, air dry - don't put them in the dryer - that would harm the rubber backing.
Grab the trash and take it out now.
Time allotted: 1 minute
Step 2
Put away any make-up and toiletries sitting out on the bathroom counter
For me, it's putting my daily used make up items back in my caboodles case, and my special facial
soaps/lotions/potions and hair brush back in the drawer. Hey - the place looks better already!
Time allotted: 1 minute
Step 3
Get out the vacuum cleaner with the hose attachment
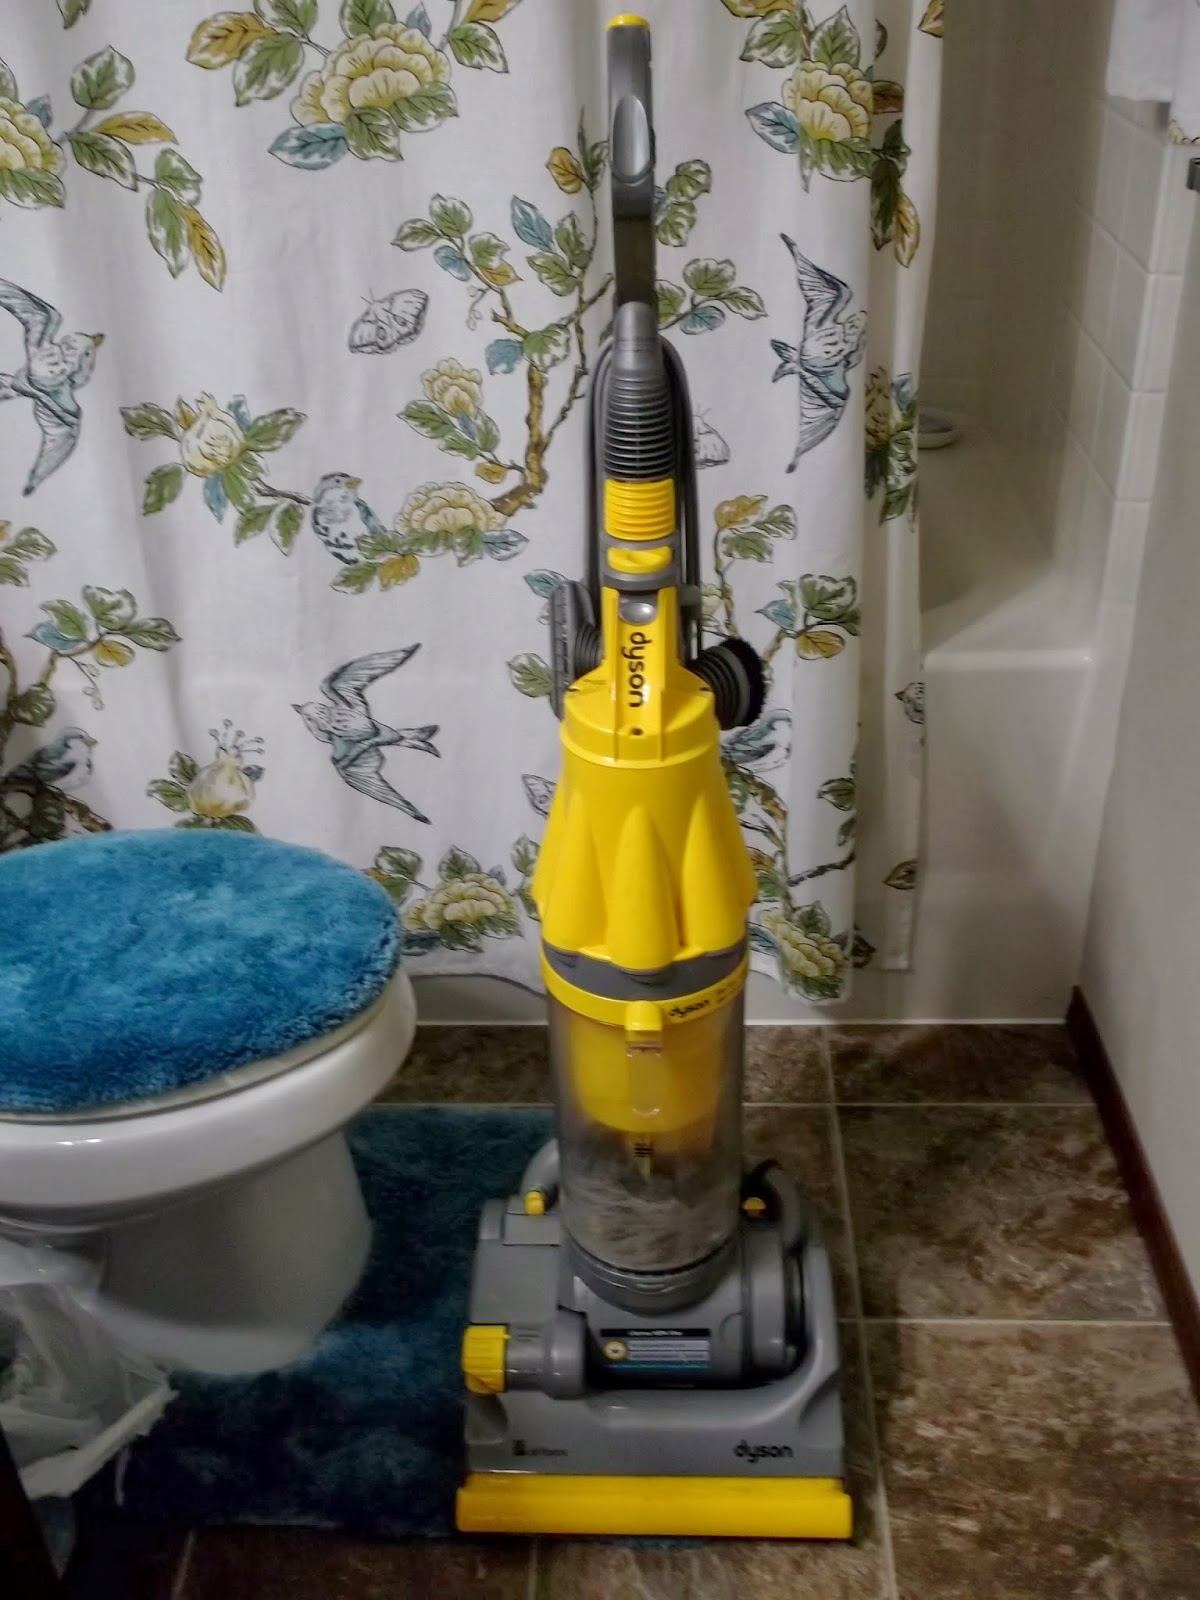
By far the biggest cleaning obstacles in my bathroom are lint and hair.
The most effective and fast way to fight these two adversaries if your
vacuum cleaner!
I love my Dyson.
I vacuum every surface in my bathroom: the toilet ( top, bottom, around the seat and base ), the tub/shower stall, the floor, and the vanity top and sink. Unless your vacuum is a wet/dry vac, make sure that its been several hours since the sink or shower has been used.
You will suck up most of the lint and hair with your vacuum cleaner. This is so much faster and easier than trying to wipe it up.
Time allotted: 5 minutes
Step 4
Turn on the fan and spray the Scrub Free in the tub/shower stall and in the sink
I use my favorite commercial cleaners, and they are probably toxic. So the first thing I do is turn on the bathroom fan, and open the window in the Summer time before I spray a droplet.
Scrub Free is formulated to cut through soap scum, hard water stains and
dulling films. Let's let Scrub Free do the work so we don't have to.
Spray down the tub/shower stall and the sink. Let it sit for 5 - 10 minutes. Then come back and simply wipe it down with a clean rag.
If there is a stubborn spot or area, spray it again, and let it sit for another 5 - 10 minutes and then come back to it.
Time allotted: 10 minutes total - 5 minutes to soak, 5 minutes to wipe clean.
Step 5
I hate cleaning the toilet, so I clean it first
While we are waiting for the Scrub Free soak out the soap scum of tub/shower and sink, we'll clean the toilet.
I first clean the bowl using a regular toilet brush and the Clorox toilet bowl cleaner with bleach.
Then I grab my Windex and spray all the surfaces of the toilet: base, seat, lid and back. Quickly wipe with your rag.
This is very very quick as I mostly cleaned lint and hair from my toilet base - and I vacuumed 99% of this up already.
However, if you share your toilet with a male(s), you will likely be cleaning dried urine and will need to take greater care. I am a lucky woman who has her own bathroom.
Time allotted: 5 minutes.
After you are done with the toilet, return to step 3 and wipe out the tub/shower stall and sink.
Step 6
Time to wipe down the floor and the outside of the tub, and trash can
I use Windex for this task. This step is very quick for me as I do not
share my bathroom with the male of our species, and I do not use hair
spray.
So for me, I am cleaning stray hairs and lint that the vacuum may have missed. If you share your bathroom with males, take extra special care to clean the floor around the toilet. If you use hair spray, you will probably need to focus on the floor in front of the mirror.
This is a great time to examine your trash - spray it down with the Windex and wipe it inside and out, then put a fresh liner in. I like to recycle plastic grocery bags in place of garbage bags.
Time allotted: 3 minutes
Step 7
Vanity top, faucet and mirror
You've already cleaned the sink back in step 3, so the dirtiest area of the vanity is already done!
Spray Windex on the mirror and faucet and wipe them down. Now for the vanity top. Move all the items that live there to one side so that you can completely clean underneath and behind everything, return your stuff to it's home and repeat for the other side.
Time allotted: 2 minutes
Note: if this step is taking you much more time than this, perhaps you are storing too many things on your vanity top. Only your most regularly used items should be using such valuable real estate.
Step 8
Wipe down the accessories that live on your vanity top

Here are my essential items that are on my vanity top:
- soap dispenser
- soap dish ( I use it as a storage for my Sonicare head which drips. The dish contains any mess )
- tooth paste holder
By the way, all 3 of the above items match and are from a bath set made by Better homes and gardens.
The other items are:
- Sonicare base and charger
- Set of 4 plastic kitchen canisters. They hold cotton balls, Q-tips, maxi pads and tampons.
Keep in mind that anything living on your vanity will be a dust and lint catcher! If you want to keep your cleaning down, you won't keep anything but your essentials out.
Step 9
You will need to do this step only occasionally with exception noted below

Cleaning the bathroom primarily used only by me, ( a woman ), I am mostly cleaning dust and the occasional make-up drip.
I clean my vanity maybe once every 2 months, and when I do, I make sure to remember to wipe the wooden window sill in the bathroom too. It's especially nice to clean this wood work before a party as it leaves your bathroom smelling of oranges!
If you share your bathroom with males, especially male children, you will be cleaning urine splashes. So pay particular attention to the side of the vanity adjacent to the toilet. If your males are messy, ( and your nose will let you know ), you may want to clean that side of the vanity weekly.
Time allotted: 3 minutes every other month
or for bathrooms used by males, 3 minutes weekly
Step 10 - Last one!
Hang your clean towels, wash clothes and put those clean rugs in place!
Once your clean items are back in their rightful places you are now finally finished!
Your bathroom should be looking and smelling like a million bucks!
The towels and rugs are a focal point in your bathroom. If yours are on their last leg, replacing them
will make a big difference to the way this room looks and feels.
Your bathroom should be looking and smelling like a million bucks!
The towels and rugs are a focal point in your bathroom. If yours are on their last leg, replacing them
will make a big difference to the way this room looks and feels.
My little trick to keep my shower cleaner longer & easier to clean on cleaning day
It's called a soap dish.

The biggest thing that many of us are really cleaning from our shower is soap scum! Where does most of the soap scum accumulate? Where we store the bar of soap. This little white dish blends nicely with my white tub. It doesn't make a visual nuisance of itself. The dish does a great job of trapping the BIG accumulation of scum to one small area.
I can remove the dish, put it in my dish washer, or spray it and wipe it out quickly when I am comfortably standing upright as I wipe out the bathroom sink.
Any cleaning that I'm not doing on my hands and knees is just more pleasant!
This little $3 soap dish really improves my quality of life.
Where do you store your make-up?
Remember Caboodles?

I stow it under the sink when I'm not using it. It's also great when I'm having a sleep over or traveling.
I love my Caboodles.
What about the rest of your bathroom junk?

Toilet paper - under the sink
Bathroom cleaners - in the laundry closet
Extra shampoo/conditioner - under the sink
Lotions, soaps and the rest - in one of 3 drawers located in the vanity
Extra towels and wash clothes - over the toilet on a shelf
Medicine - In an upper kitchen cabinet.
Tampons, pads, cotton balls, Q-tips ( ie my most used items ) - on the vanity top in clear containers.
I am a minimalist at heart and I try to only store the things that I know I need and that I will use. This helps keep my storage needs lower.
It's important to go through your bathroom drawers, closets, and shelving at least yearly to assess whether you still need the items that are stored there. Does our stuff still serve us? If it does not, then pass it along to someone who can use it or throw it out.
Thanks for reading my blog. Please visit my sponsors below:
Katrina's Point of View Vlog - a companion to this Blog

Katrina's Point of View Vlog - a companion to this Blog


No comments:
Post a Comment